Sword Spark Effect in Photoshop
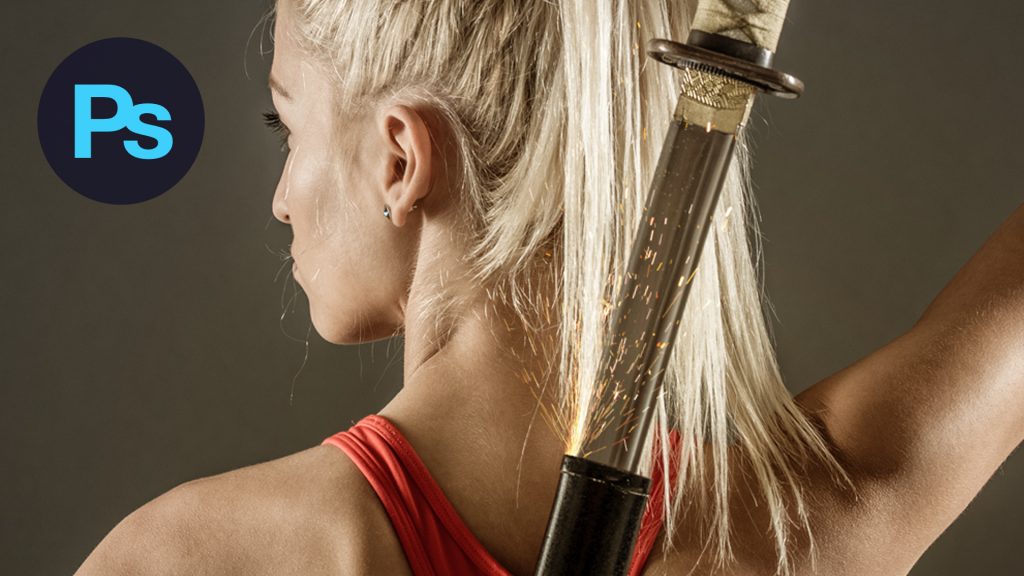
In this tutorial, we’re going to learn how to add a sword spark effect in Adobe Photoshop.
The Steps (1-6)
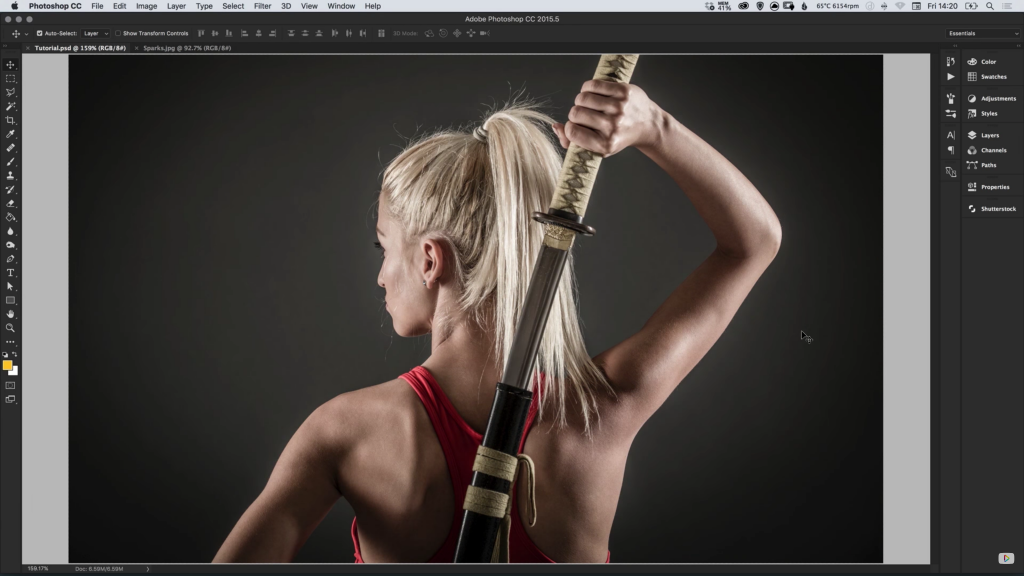
1. Open your main image in Photoshop.
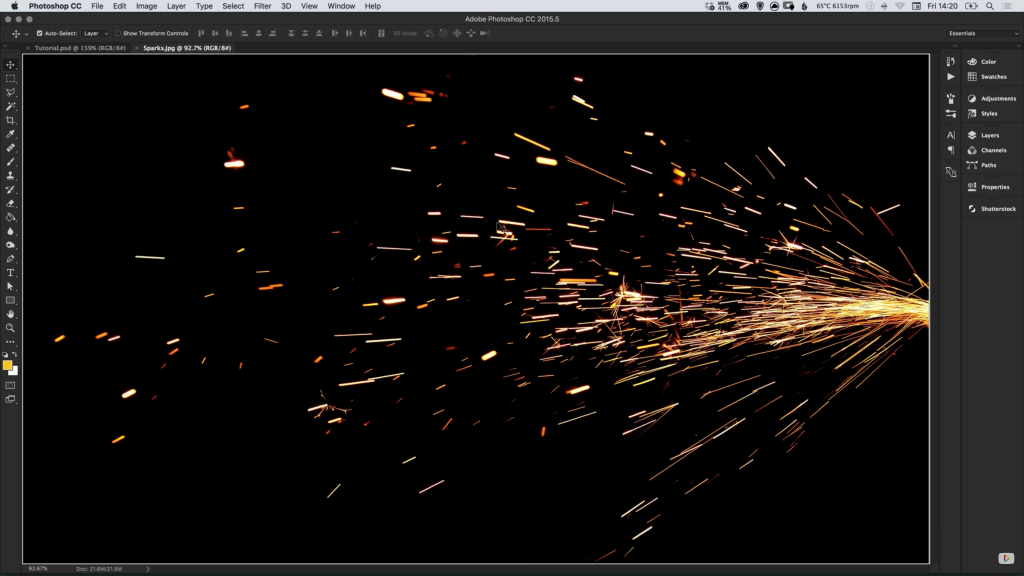
2. Source an image of some sparks on a dark background and open this image in Photoshop. Press Cmd/Ctrl + A to select the entire canvas, and go to Edit > Copy, to copy the sparks image to the clipboard. Switch over to your main image and go to Edit > Paste to add the sparks into the image on a new layer.
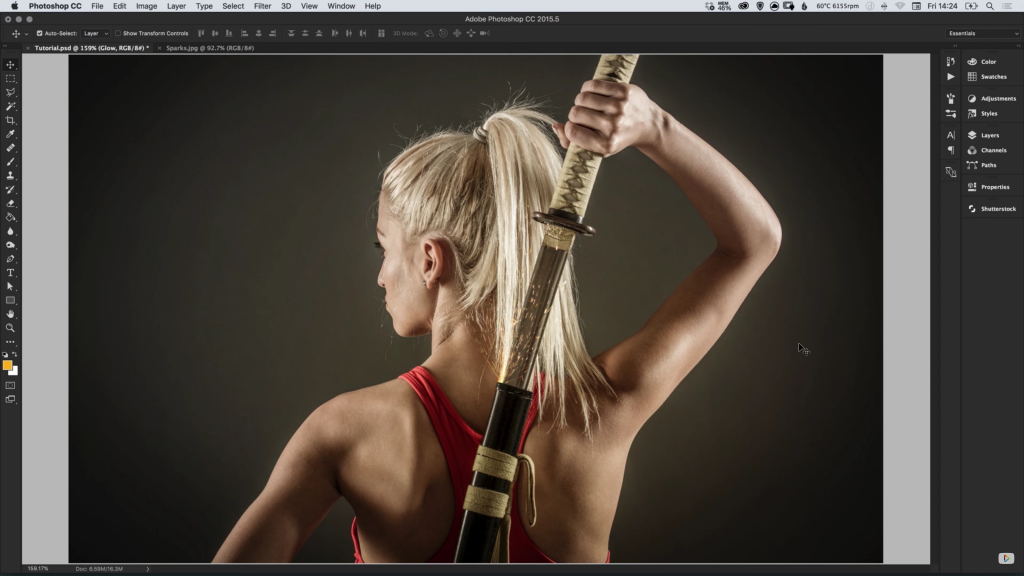
3. With the sparks selected, go to Edit > Transform > Free Transform to adjust the Size, Rotation and Position of the sparks in relation to where you would like them to appear within your main image.
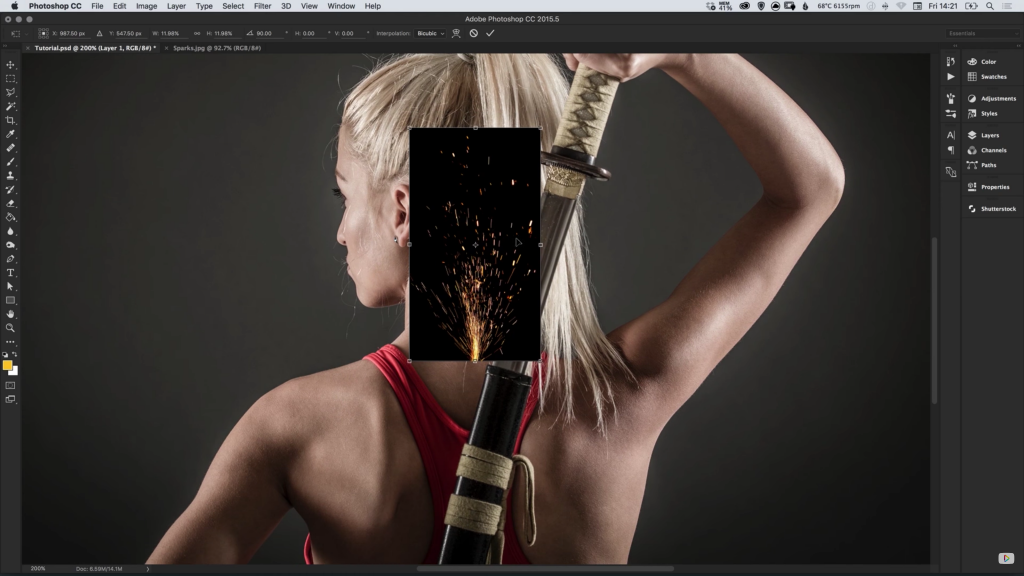
4. Double-click the sparks layer, give it a name of your choice, and set the Blending Mode to Screen.
5. Create a New Layer and position this layer underneath the sparks layer. Next, select the Brush Tool and choose a large feathered brush with a Hardness of 0%.
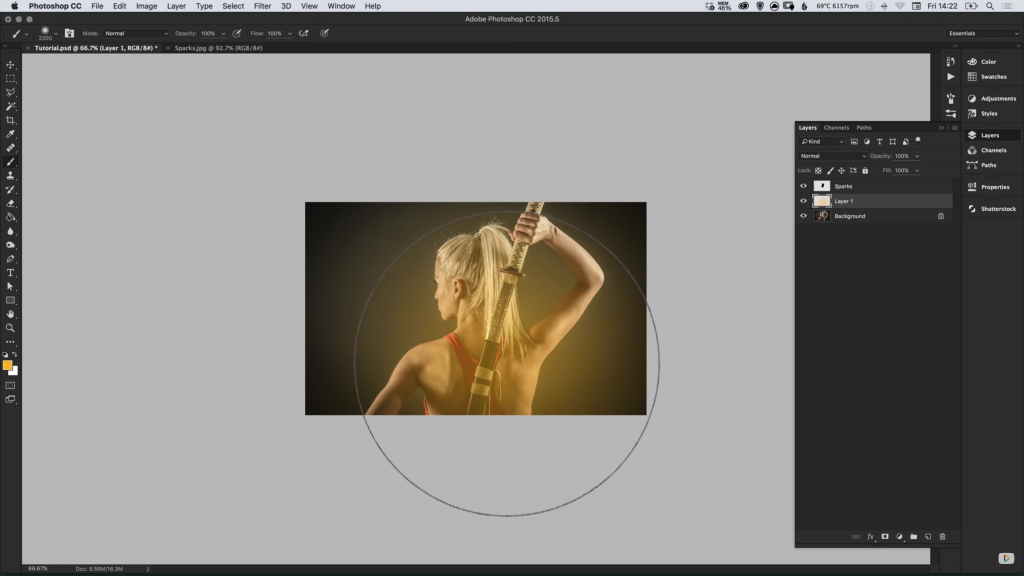
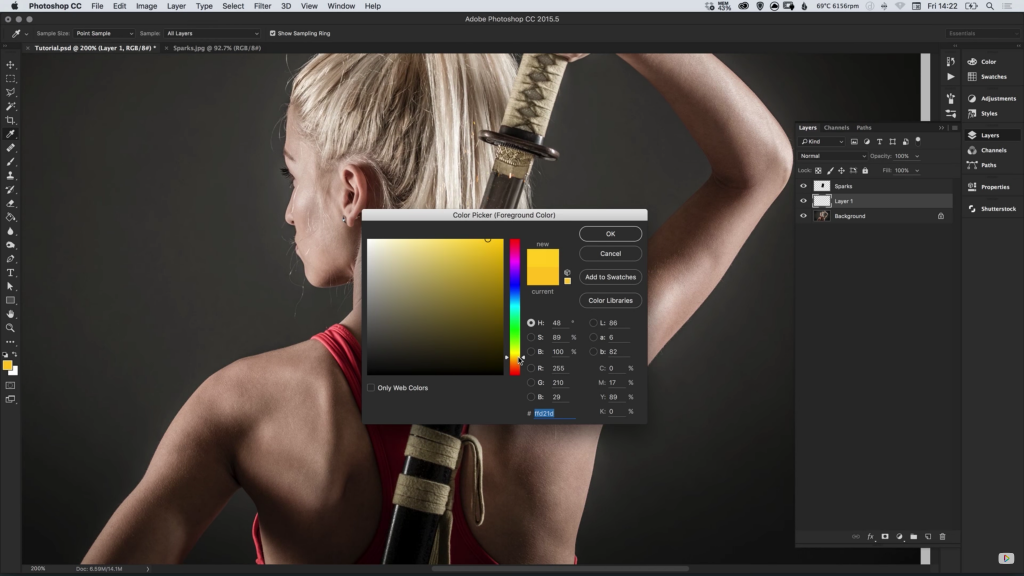
6. From the Colour Picker select a yellow/orange similar to the colour of your sparks, and Left-click to start adding the brush effect over your main image. Set the Blending Mode to Soft Light and adjust the Opacity as desired. This effect simulates a glow coming off of the sparks.
Download Adobe Photoshop.
Read More at Sword Spark Effect in Photoshop
