An Intro to Web Site Testing with Cypress
End-to-end testing is awesome because it mirrors the user’s experience. Where you might need a ton of unit tests to get good coverage (the kind where you test that a function returns a value you expect), you can write a single end-to-end test that acts like a real human as it tests several pieces of your app at once. It’s a very economical way of testing your app.
Cypress is a new-ish test runner with some features that take some of the friction out of end-to-end testing. It sports the ability to automatically wait for elements (if you try to grab onto an element it can’t find), wait for Ajax requests, great visibility into your test outcomes, and an easy-to-use API.
Note: Cypress is both a test runner and a paid service that records your tests, allowing you to play them back later. This post focuses on the test runner which you can use for free.
Installing Cypress
Cypress.io installs easily with npm. Type this into your terminal to install it for your project:
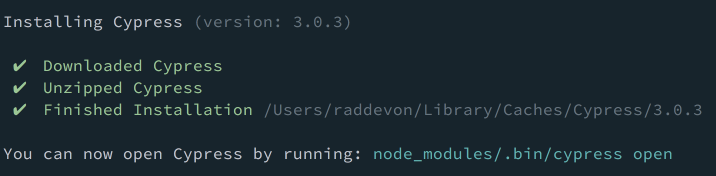
npm install --save-dev cypressIf everything works, you should see output that looks like this in your terminal:
Now, let’s write some tests to see how this thing works!
Setting up tests for CSS-Tricks
We’ll write some tests for CSS-Tricks since it’s something we’re all familiar with… and maybe this will help Chris avoid any regressions (that’s where changing one thing on your site breaks another) when he adds a feature or refactors something. ?
I’ll start inside my directory for this project. I created a new directory called testing-css-tricks inside my projects directory. Typically, your Cypress tests will go inside the directory structure of the project you want to test.
By default, Cypress expects integration tests to be in cypress/integration from the project root, so I’ll create that folder to hold my test files. Here’s how I’d do that in the terminal:
mkdir cypress
mkdir cypress/integration
You don’t have to use this default location though. You can change this by creating a cypress.json configuration file in your project root and setting the integrationFolder key to whatever path you want.
Test: Checking the Page Title
Let’s start with something really simple: I want to make sure the name of the site is in the page title.
The describe function
I’ve created a file inside cypress/integration called sample-spec.js. Inside that file, I’ll kick off a test with a call to describe.
describe('CSS-Tricks home page', function() {
});
describe takes two arguments: a string which I think of as the “subject” of your testing sentence and a callback function which can run any code you want. The callback function should probably also call it which tells us what we expect to happen in this test and checks for that outcome.
The it function
describe('CSS-Tricks home page', function() {
  it('contains "CSS-Tricks" in the title', function() {
  });
});
The it function has the same signature: it takes a string and a callback function. This time, the string is the “verb” of our testing sentence. The code we run inside the it callback should ultimately check our assertion (our desired result) for this test against reality.
This describe callback can contain multiple calls to it. Best practice says each it callback should test one assertion.
Setting up tests
We’re getting slightly ahead of ourselves, though. In our describe call, we’ve made it clear that we intend to test the homepage, but we’re not on the homepage. Since all the tests inside this describe callback should be testing the homepage (or else they belong somewhere else), we can just go ahead and navigate to that page in a beforeEach inside the describe callback.
describe('CSS-Tricks home page', function() {
  beforeEach(function() {
    cy.visit('https://css-tricks.com/');
  });

  it('contains "CSS-Tricks" in the title', function() {
  });
});
beforeEach reads just like what it does. Whatever code is in the callback function passed to it gets executed before each of the tests in the same scope (in this case, just the single it call under it). You have access to a few others like before, afterEach, and after.
You may wonder why not use before here since we’re going to test the same page with each of our assertions in this block. The reason beforeEach and afterEach are used more frequently than their one-time counterparts is that you want to ensure a consistent state at the start of each test.
Imagine you write a test that confirms you can type into the search field. Great! Imagine you follow it with a test that ensures the search field is empty. Fail! Since you just typed into the search field in the previous test without cleaning up, your second test will fail even though the site functions exactly as you wanted: when it’s first loaded, the search field is empty. If you had loaded the page before each of your assertions, you wouldn’t have had a problem since you’d have a fresh state each time.
Driving the browser
cy.visit() in the example above is the equivalent to our user clicking in the address bar, typing https://css-tricks.com/, and pressing return. It will load up this page in the web browser. Now, we’re ready to write out an assertion.
describe('CSS-Tricks home page', function() {
  beforeEach(function() {
    cy.visit('https://css-tricks.com/');
  });

  it('contains "CSS-Tricks" in the title', function() {
    cy.title().should('contain', 'CSS-Tricks');
  });
});
Title Assertion
cy.title() yields the page title. We chain it with should() which creates an assertion. In this example, we pass should() two arguments: a chainer and a value. For your chainer, you can draw from the assertions in a few different JavaScript testing libraries. contains comes from Chai. (The Cypress docs has a handy list of all the assertions it supports.)
Sometimes, you’ll find multiple assertions that accomplish the same thing. Your goal should be for your entire test to read as close to an English sentence as possible. Use the one that makes the most sense in context.
In our case, our assertion reads as: The title should contain “CSS-Tricks.”
Running our first test
Now, we have everything we need in place to run our test. Use this command from the project root:
$(npm bin)/cypress openSince Cypress isn’t installed globally, we have to run it from this project’s npm binaries. $(npm bin) gets replaced with the npm binary path for this project. We’re running the cypress open command from there. You’ll see this output in the terminal if everything worked:

…and you’ll get a web browser with the test runner GUI:
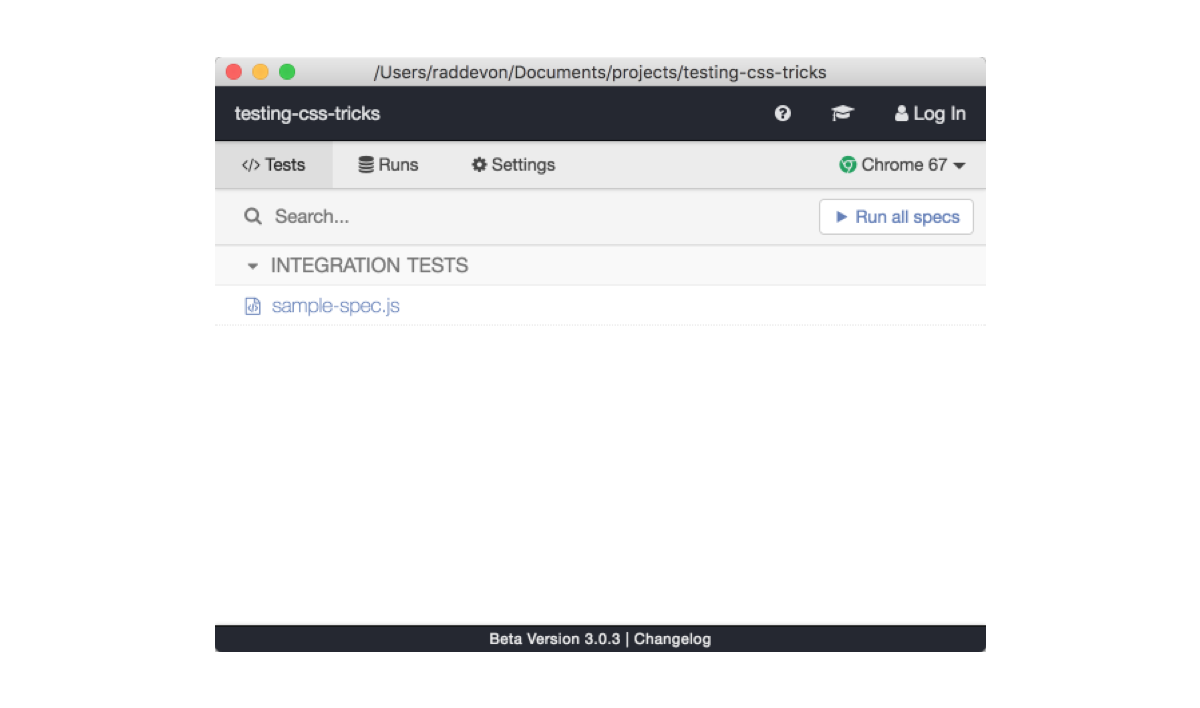
Click that “Run all specs” button to start running your tests. This will spawn a new browser window with your test results. On the left, you have your tests and their steps. On the right, you have the test “browser.”
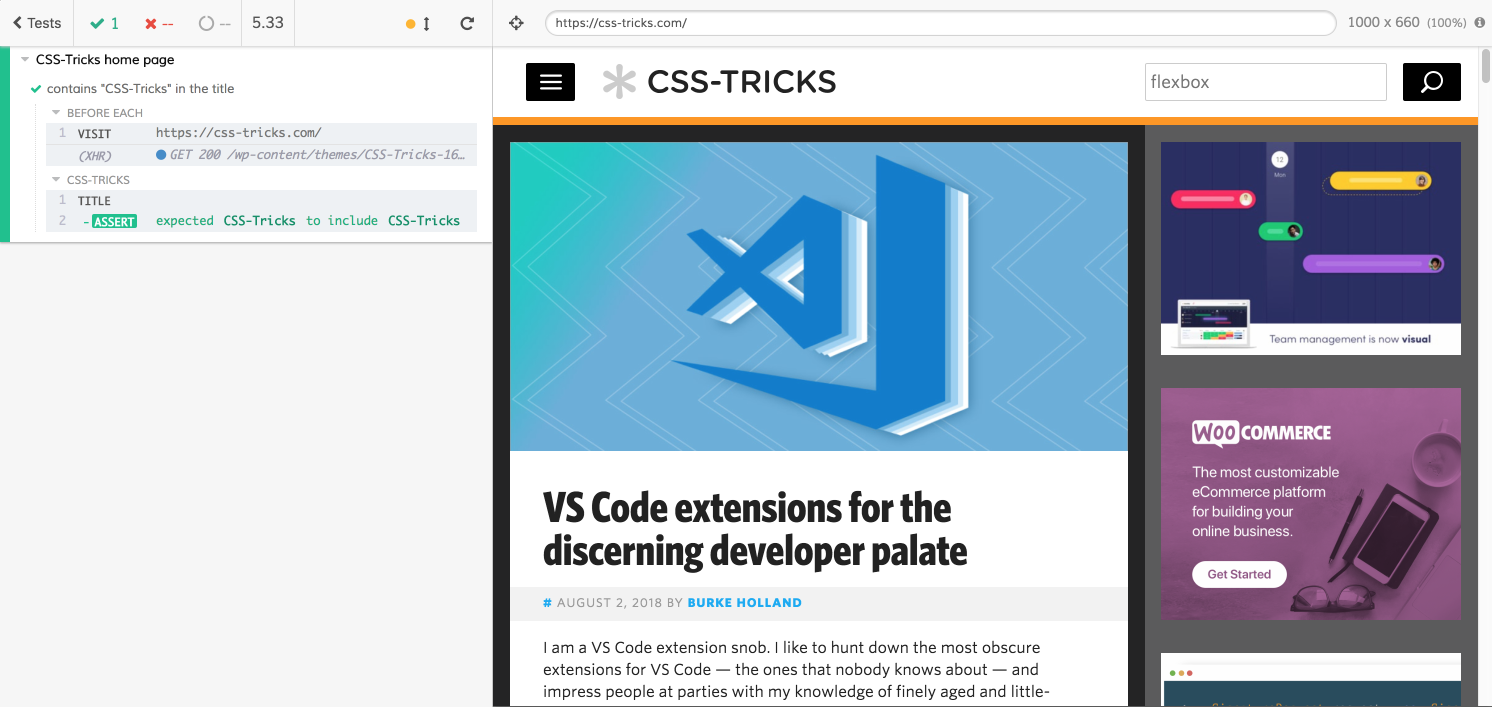
This brings us to another cool feature of Cypress. One problem with end-to-end tests is visibility into your test outcomes. Every test runner gives you a “pass” or “fail,” but they do a terrible job of showing you what happened to cause a failure. You know what didn’t happen (your test assertion), but it’s harder to find out what did happen. In the past, I have resorted to taking a screenshot of the test browser at various points throughout the test which rarely gave me the answers I needed. It’s the automated test equivalent to spamming your code with console.log to debug a problem.
With Cypress, I can click on each step of the test on the left to see the state of the page at that point on the right.
Test: Checking for an element on the page
Next, we’ll check for an element we want to be sure is on the page. The page should always include the logo, and it should be visible.

Since we’re testing the same page, we’ll add a new it call to our describe callback.
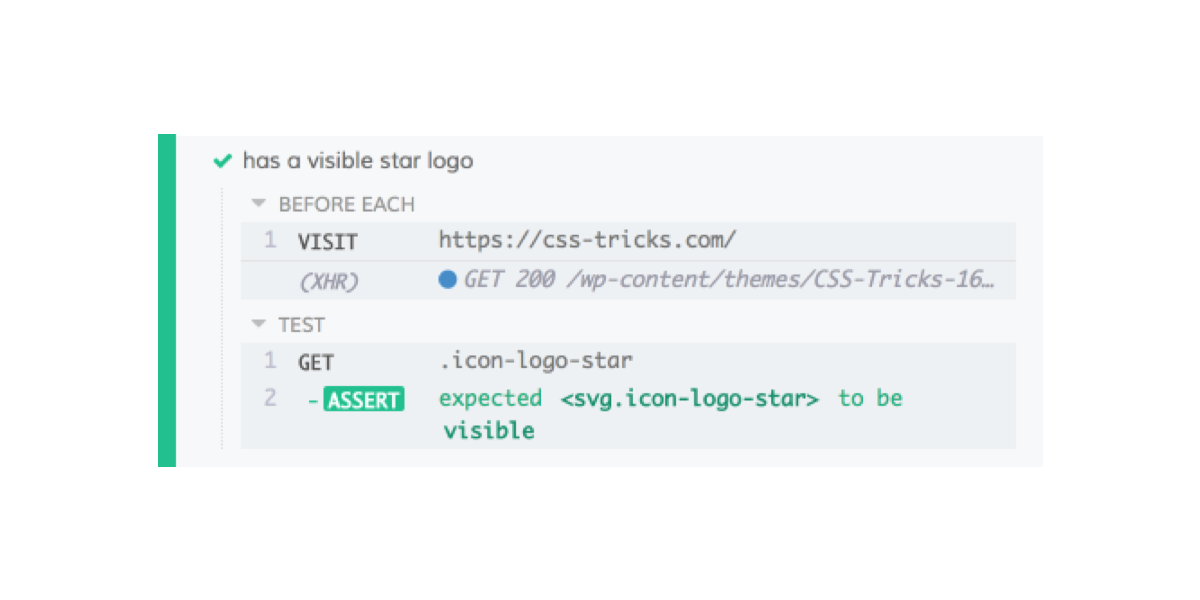
it('has a visible star logo', function() {
  cy.get('.icon-logo-star').should('be.visible');
});
We’re still testing from the home page like before since the cy.visit() call happens before each of these tests. This test is using cy.get() to grab the element we want to check for. It works kinda like jQuery: you pass it a CSS selector string. Then, I chain a should() call and check for visibility.
Two things to note here: first, if this element had loaded asynchronously, cy.get() will automatically wait the defaultCommandTimeout to see if the element shows up. (The default value for that is four seconds, which can be changed in cypress.json.) Second, if you add that test and save the file, your tests will automatically re-run with the new test. This makes it really quick and easy to iterate your tests.
Here’s the result:
Test: Making sure navigation is responsive
We’ll try something slightly fancier with this test. I want to be sure the responsive menu is available on smaller viewports. Otherwise, users might not be able to navigate the site properly.

We’re still testing the home page, so I’ll write this test inside the same describe callback. I’m testing a slightly different scenario though, so I’ll nest another describe call to indicate the specific circumstances of my test and to set up those circumstances.
describe('CSS-Tricks home page', function() {
  // Our existing tests and the beforeEach are here

  describe('with a 320x568 viewport', function() {

  });
});
Testing at 320px width
Here, I’ve decided to test for the responsive navigation menu at 320px width, but it would be useful to know about the default testing viewport. You can click on any of your tests in the test runner and see the viewport width above the browser pane.

1000×660 is the default viewport size. You can change this in your cypress.json configuration file. We’ll start by writing the test to run at 320px width. Then, we’ll duplicate that test for a few different viewports.
To change the viewport for this test only, we can call cy.viewport().
describe('with a 320x568 viewport', function() {
  beforeEach(function() {
    cy.viewport(320, 568);
  });
});
Now, we’ll drop an it call inside the nested describe callback. Now that we have the viewport set, this test will look very similar to the logo test.
it('has a visible mobile menu toggle', function() {
  cy.get('#mobile-menu-toggle').should('be.visible');
});
Testing at 1100px width
I’m going to run the same test at 1100px to make sure the responsive menu is still there. I think this is the maximum width that should have the menu, so I want to make sure it does.
describe('with a 1100x660 viewport', function() {
  beforeEach(function() {
    cy.viewport(1100, 660);
  });

  it('has a visible mobile menu toggle', function() {
    cy.get('#mobile-menu-toggle').should('be.visible');
  });
});
Oh crap! What happened here?
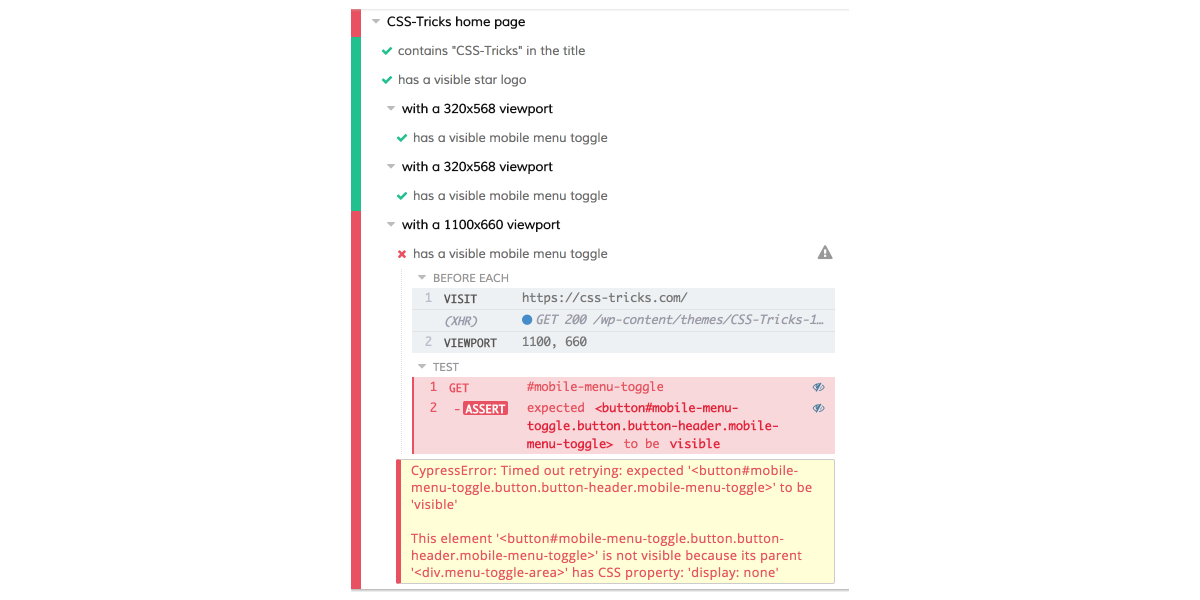
Since the test only tested for a single thing, we have a good idea what happened: the responsive menu wasn’t visible at 1100px viewport width. The feedback from the test give us some good information, too.
“Timed out retrying: expected ‘
This element is not visible because its parent
display: none.
Cypress waited the defaultCommandTimeout for the mobile menu toggle to be visible, and it wasn’t. It wasn’t considered visible because a parent element had display: none. Makes sense.
Here’s something Cypress gives us that other test runners don’t: the opportunity to inspect the failure state.
When I click on one of the test steps, I see the state of the page at the time that step ran in the browser on the right, but I also get the output in the console. (Bring up Chrome Developer Tools and check the console to see that.)
In this case, that’s not even necessary. It’s easy to see that the page doesn’t have the responsive menu at this width.
In an idealized, real-world scenario, I would first write tests to reflect what I want (in this case, a responsive menu at 1100px viewport width). Then, I would go back and make changes in the code to fix my test failures. In other words, I would make sure the responsive menu is displayed at 1100px. This is called test-driven development.
In this case, though, since I’m testing a live site, I’ll just rewrite the test to fit what the site already does. If you’re adding tests to an existing site to prevent regressions, you might use a method more like this one where you write tests to reflect the existing functionality.
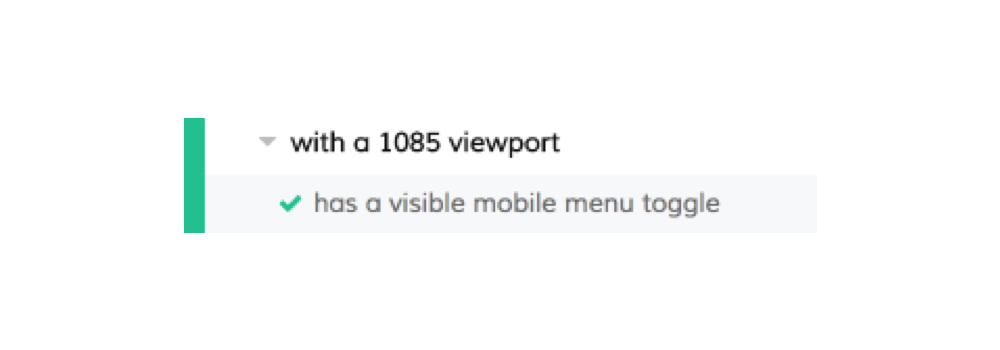
The responsive menu is visible at widths up to 1086px, so we’ll change this test’s viewport width to 1085px. We want to make sure we change the string we’re passing to describe to properly reflect the new width, too.
describe('with a 1085 viewport', function() {
  beforeEach(function() {
    cy.viewport(1085, 660);
  });

  it('has a visible mobile menu toggle', function() {
    cy.get('#mobile-menu-toggle').should('be.visible');
  });
})
Now, we have a passing test!
Test: Search
Functioning search is critical for a site with as much content as CSS-Tricks. We’ll divide up testing it into two parts: first, ensuring the request goes out and, second, ensuring the results get displayed on the page.
Before we can do either of those, though, we have to trigger a search.
Let’s add a describe call inside the home page describe callback to indicate we are testing search.
describe('site search', function() {
});
We need to call beforeEach with a callback that will trigger the search. To trigger a search, we’ll use the Cypress API to interact with the page the same way a user would. We’ll first type into the search field. Then, we’ll press the keyboard Enter key.
beforeEach(function() {
  cy.get('.search-field').type('flexbox{enter}');
});
If you look at the documentation for the type method, you can see that {enter} is a special sequence that triggers a press of the enter key. That should submit our search.
Time for the actual testing!
Checking the URL
Our search should load a new page at https://css-tricks.com/?s=. Let’s call it:
it('requests the results', function() {
});
To make sure the page was requested, we’ll check the URL for the search term now that we’ve triggered the search.
cy.url().should('include', '?s=flexbox');The question mark kicks off a query string in a URL. Since CSS-Tricks always puts the search parameter first in the query string, we can look for a substring that starts with ?. The site’s search term parameter is s. By confirming that parameter is in the URL with the value we searched, we know the search request was made.
Confirming we have results
To confirm results, we’re not actually testing the home page. We’re testing the results page instead. Since the page is our top-level describe call, we’ll create a new top-level describe call to test the search results page.
describe('Search results page', function() {
});
In the real world, we might break this out into a separate files. This makes it easier to find tests, but it also makes our development cycle more efficient. Cypress will re-run tests when you save changes to your tests. If you’re working with a single page and you have your tests split into different files, you can run only that file’s tests. Since tests take some time to run, this can make your iterations tighter as you make changes or add new tests.
Now, we need to get to this page. We’ll use visit inside a beforeEach just inside the new describe call’s callback to navigate there before the test.
beforeEach(function() {
  cy.visit('https://css-tricks.com/?s=flexbox');
});
This would work, but, since all the pages we’re going to test are on CSS-Tricks, it would be nice if we didn’t have to repeat the protocol (https) and the domain (css-tricks.com) in every test. That would make our tests DRYer.
Fortunately, we can do this with configuration in cypress.json with the baseUrl property. Here’s what the cypress.json file looks like with baseUrl set.
{
  "baseUrl": "https://css-tricks.com/"
}
Make sure this file is in the root of your project. Any settings will override the Cypress defaults.
With this configuration in place, we can remove this portion of the URL from any visit calls.
describe('CSS-Tricks home page', function() {
beforeEach(function() {
cy.visit('/');
});
// ... shortened for brevity
});
describe('Search results page', function() {
beforeEach(function() {
cy.visit('/?s=flexbox');
});
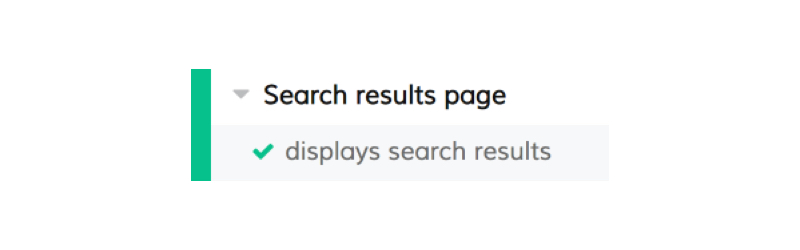
});We’re ready to check if the page has results. Here’s the it call:
it('displays search results', function() {
});
By inspecting the page, I can see that each search result is an li element inside an element with the class search-grid-list. I’ll use this as the basis of the selector for the test.
it('displays search results', function() {
  cy.get('.search-grid-list li').should('exist');
});
This test will tell us we have at least one result on the search results page. It’s good enough for the purposes of this demo, but, in a real-world test, we’d want some way to control the results that come back from the search. It would be easier because we’d be testing against a local copy of the site instead of a live one. We can’t control the content on the live CSS-Tricks site, and, as a result, we can’t accurately predict what will come back for any search term. For this demo, I’ve made the assumption that the search term flexbox will always return at least one result on the site.
Let’s check the results:
What’s next…
Now, we have a good baseline for implementing some testing with Cypress. We learned:
- how to organize tests
- how to visit pages in the test browser
- how to check the title
- how to test at different viewport sizes
- how to check the URL in the browser
- how to grab on to elements and test them
- how to interact with forms
We didn’t get to touch on one of the coolest aspects of Cypress: the way it allows you to deal with Ajax requests. This is great for single-page apps. Cypress can sit between the server and your app. This allows it to wait for responses to come back when you make a request.
You can also control the responses. I mentioned before that it would be nicer if we had control over the results coming back from the search. If the CSS-Tricks search had used Ajax to load the results, we could have easily delivered a static set of results and tested that they were properly rendered on the page.
Cypress has really good documentation. If you’re ready to try some of the Ajax stuff, check out Cypress’s guide on network requests.
Wherever you go from here, take what you know now and use it to implement some automated testing in your current project. As your app or site becomes more complex, the chance you’ll introduce regressions increases dramatically. You don’t want to get so wrapped up in introducing new features that you end up breaking the old ones. Automated testing is a great way to help you avoid this but without forcing you to manually test each feature every time.
Are you at CSS-Tricks because you want to become a web developer? If so, I want to help. I write technical tutorials like this one, but I also cover other skills you need to make the transition. You’ll miss these if your learning diet is exclusively technical.
Right now, I’m giving away four free mentoring sessions each week to CSS-Tricksters who sign up for my list. Everyone will get great articles and resources to help you become a web developer, and as many people as I can fit into my schedule will get live personalized advice on how to take the next steps in your career transition.
The post An Intro to Web Site Testing with Cypress appeared first on CSS-Tricks.
